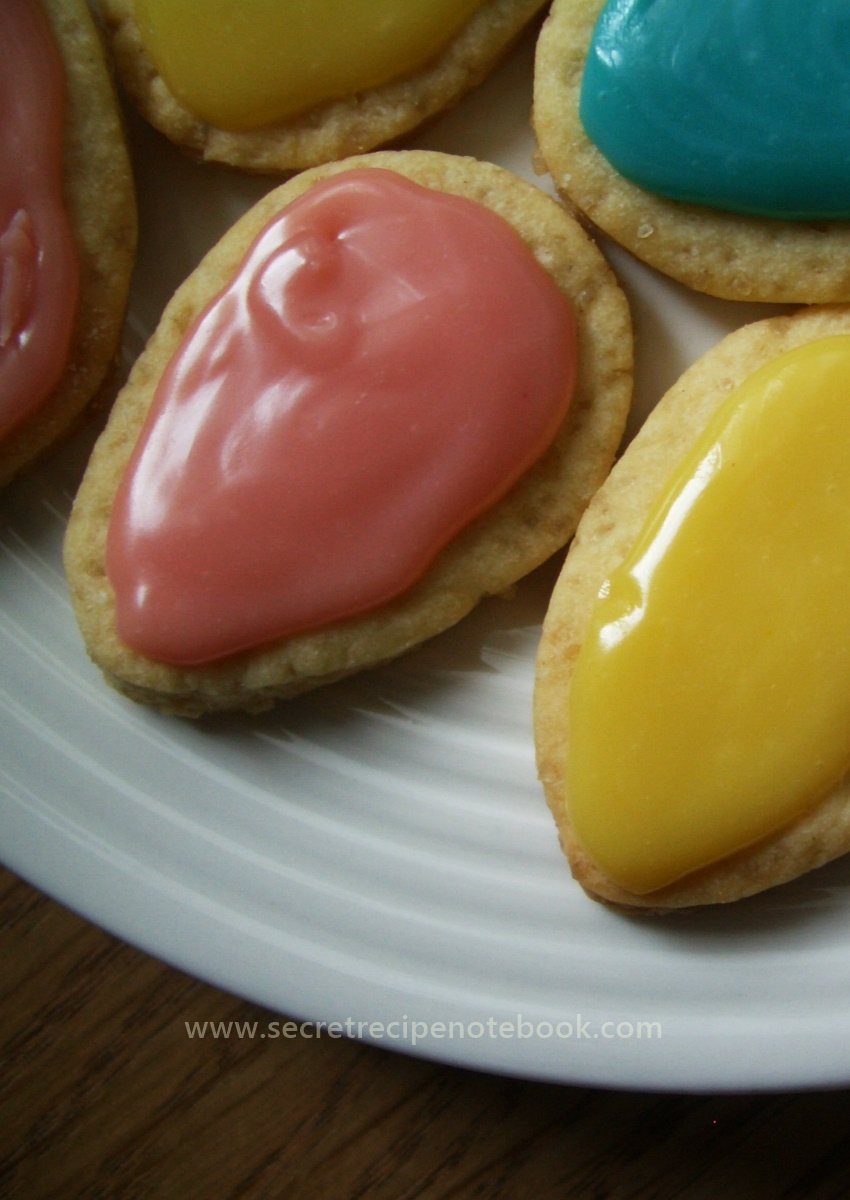
Easter Egg Cookies
Those looking for simple Easter cookies will love these egg-shaped cookies decorated with pastel coloured white chocolate icing.
They are as attractive as tasteful and will be a wonderful addition to your Easter cookie tray. Place them in a small cellophane bag and you have a beautiful food gift to your dear ones!
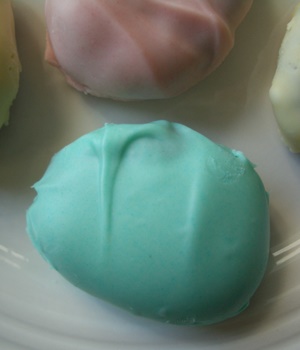
For something completely different, try our egg-shaped chocolate truffles, very attractive and so yummy.

This webpage contains affiliate links. Please read our disclosure policy.
Making the cookie dough
This is the easiest dough to work with. It is not sticky, rolls out smooth, cuts clean, and is so easy to transfer to your cookie sheet. This is the best dough to work with.
- Start with combining PLAIN FLOUR, BAKING POWDER and SALT in one bowl. In another beat softened BUTTER with DEMERARA SUGAR until creamy then add an EGG, grated LEMON ZEST and VANILLA BEAN PASTE for some extra aroma.
- Continue with adding flour in batches to the egg/butter mixture and mix with electric hand mixer until it start to form a dough, then continue with your hands. The dough should be rest in the fridge for about 1 hour to set and to be easier to handle.

More Easter recipes
you'll love:


How to shape Easter egg cookies
It's time for fun part - rolling the dough and cutting the cookie shapes. For this you will need a proper rolling pin and cookie cutter in the shape of an egg (you can order them online - we love this set of 3 egg cookie cutter).
Roll out the dough thinly (2-3 mm), then cut out the shapes, arrange them on the baking sheet and bake for only 5-6 minutes (until they turn lightly golden). Leave them to cool on the baking sheet until you bake another one.


Making icing for Easter egg cookies
Once you've baked the cookies and they have cooled completely, you can start making the icing.
In this recipe we use the simplest icing ever. You will only need:
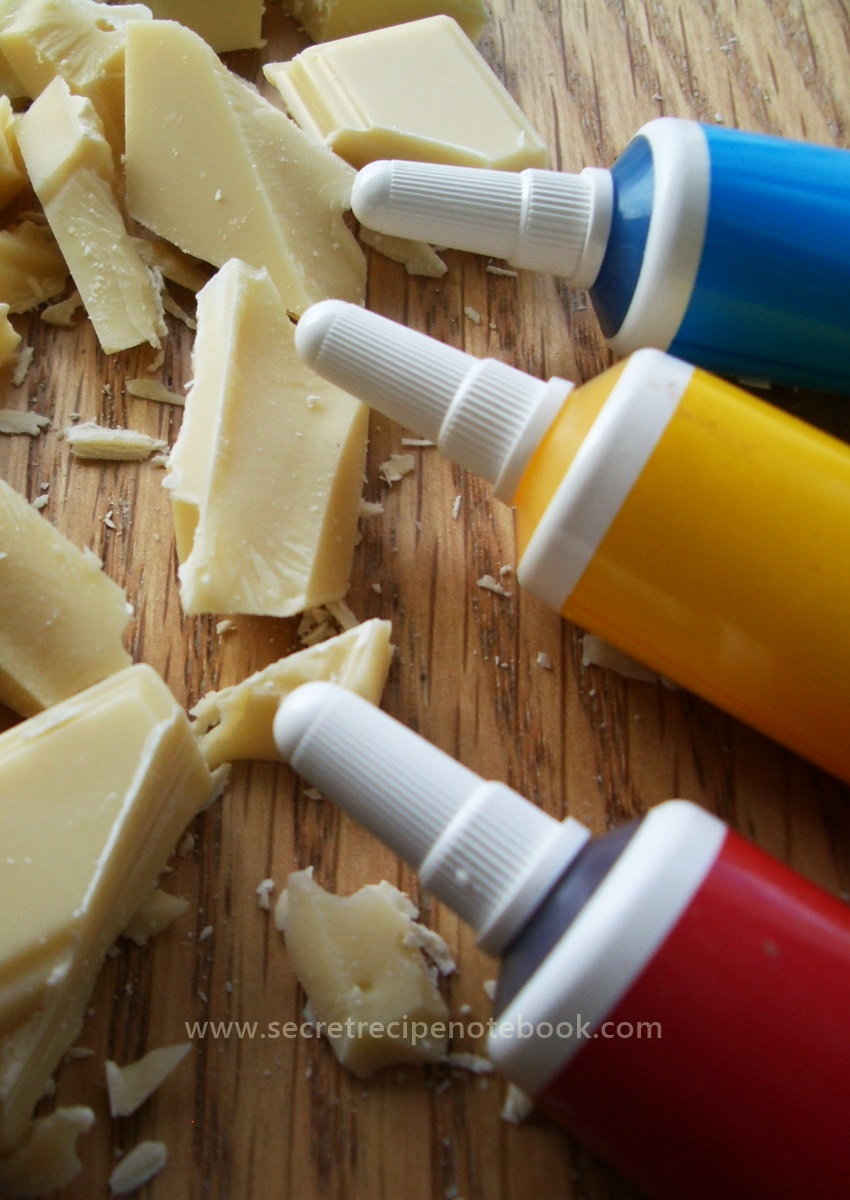
- WHITE CHOCOLATE: Use high-quality white chocolate (we love Baker's or Lindt white chocolate bar)
- WHIPPING CREAM: You'll need just a few tablespoons of whipping cream.
- GEL FOOD COLOURING: Choose from a few colours then mix to get other colours. We used yellow, red and blue. Be sure to use gel food colouring, not the liquid ones so you don't change the consistency of the icing.
For the icing, broke the white chocolate into smaller pieces, place it in the heatproof bowl and melt over a saucepan of simmering water.
Once melted, divide into three or more small bowls, then tint each bowl with a just few drops of different colour. Stir and you are ready to decorate.
We used Dr Oetker's Gel Food Colourings in three colours: red, yellow and blue. You can play with these colours and get other colours (red + yellow = orange, red + blue = violet) and different shades.
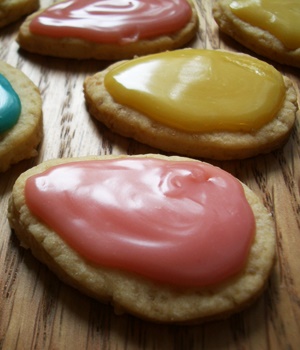
For decorating, you will need 3 disposable piping bags - one for each colour. If you don't have on hand piping bags, use small zip-lock bags - the result will be the same. Spoon mixtures into piping bags, cut off the small end of the bag and start decorating the cookies. This is best done on the baking sheet. Once you are done, leave the cookies to set.
Storing Easter egg cookies
These Easter egg cookies can be stored in an airtight container but we don't think they will last for a long as they are so tempting.
Cookies need to be completely cool before they are stored. If you store them while they're still warm, they will become soggy. Once cooled, store them in a glass cookie jar at room temperature for up to 7 days.
A few of our popular cookie recipes:
- Almond Flour Lemon Cookies
- Chestnut Flour Pecan Cookies
- Soft Amaretti Cookies
- Gluten-Free Polenta Cookies
- Double Chocolate Hazelnut Cookies
- Pistachio Christmas Tree Cookies
Easter Egg
Cookies
MAKES: 80 cookies
COOKS IN: 1 hour plus cooling time
LEVEL: Moderate
INGREDIENTS
For the cookies
- 280g (2 1/3 cups) plain flour
- 1/2 teaspoon baking powder
- 1/8 teaspoon salt
- 140g (10 tbsp) butter, at room temperature
- 110g (1/2 cup) demerara sugar
- 1 egg, at room temperature
- 1 teaspoon vanilla bean paste
- 1 tablespoon grated lemon or orange zest
For the decoration
- 100g (3.5 ounces) white chocolate
- 3-4 tablespoons whipping cream
- gel food colouring (yellow & red & blue)
METHOD
- FOR THE COOKIES, combine flour, baking powder and salt in a medium bowl.
- In a large bowl using a hand mixer or stand mixer, beat softened butter, demerara sugar on a medium speed until smooth and creamy. Add egg, finely grated lemon zest and vanilla bean paste and mix for another 1-2 minutes. Scrape down the sides and bottom of the bowl as needed, and continue to beat until fully combined.
- Add flour to the butter/sugar mixture in two bathes, and beat until it starts clumping together. Bring the dough into a smooth ball with your hands. If the dough is too crumbly and isn't coming together, add 1 teaspoon of milk.
- Flatten the dough into a disc, wrap in a cling film and place in the fridge for about 1 hour.
- Preheat the oven to 175°C/347°F. Line 2 baking sheets with baking paper.
- Take the dough from the fridge and roll out to a thickness of 2-3 mm. Use egg-shaped cookie cutter to cut the shapes from the dough. Re-roll any scraps and cut out more cookies. Use a knife or thin cookie spatula to transfer the cookies to the prepared baking sheet.
- Bake until cookies are set and just beginning to turn golden around edges, about 5-6 minutes. Leave cookies on the sheet for a couple of minutes, then transfer to cooling rack to cool.
- FOR THE TOPPING, broke white chocolate into smaller pieces and place together with whipping cream in a heatproof bowl. Place the bowl on the top of the saucepan with simmering water. Stir until the white chocolate is melted and you get a smooth silky texture.
- Divide the mixture into three small bowls, then add a few drops of food colouring into each bowl until you achieve the desired shade.
- Spoon one mixture into disposable piping bag, cut off small corner in the bottom and decorate part of the cookies. This is the best done on the baking sheet lined with baking paper. Continue with other colours. First pipe a border around the edge of each cookie, then fill the rest of the surface. Leave cookies to completely set.
CATEGORIES: Cookies, Easter
White Chocolate

We are a participant in the Amazon Services LLC Associates Program, an affiliate advertising program designed to provide a means for us to earn fees by linking to Amazon.com and affiliated sites.
Looking
for a recipe?
Welcome!
Welcome to Secret Recipe Notebook, a place where you can find simple and tasty recipes for any occasion! Enjoy cooking with us!

MOST POPULAR RECIPES


Note!
© Secretrecipenotebook.com. All rights reserved.
All images and content on this website are copyright protected. Please do not use our images without my permission. If you want to republish this recipe, kindly re-write the recipe in your own words, use your own photos or link back to this post for the recipe. Thank You!
All content and photography is copyright of Secret Recipe Notebook
© 2020-2025, unless otherwise noted.
Material may not be duplicated or republished without permission.
Click to see our:
Privacy Policy & Legal Disclaimer & Affiliate Disclosure
